Reading incoming SMS messages for verification (OTP) in Android
Introduction
Nowadays, Applications usually use SMS texts for authentication purpose, like OTP (One-Time-Passwords), where a message is sent by the service-provider and it is automatically read by the application, verifying it. This flow helps user to save a lot of app switching from application to messenger app and then entering the authentication text to app again.
In this article, we will focus on reading the sms automatically when we are expecting it, and responding when we receive the message.
Architecture (Classes we will need)
We will need a Single Broadcast Receiver for our Purpose, a listener to connect our receiver and activity and an Activity (or Fragment etc) for responding to the callback when the message is received.
- SmsReceiver.java :- This is a broadcast receiver that is called when SMS is received.
- SmsListener.java :- This would be our listener interface that will be passed on to our receiver.
- MainActivity.java :- Our calling code where all the action happens.

Implementation
First of all add the receiver entry for SMS_RECEIVED action in our AndroidManifest.xml
    <receiver android:name=".SmsReceiver">
        <intent-filter>
                <action android:name="android.provider.Telephony.SMS_RECEIVED"/>
         </intent-filter>
    </receiver>
This ensures that whenever a SMS is received, this broadcast listener is sent the broadcast with SMS data.
Create a simple interface SmsListener.java as follows:-
    public interface SmsListener {
            public void messageReceived(String messageText);
    }
In our BroadcastReceiver, we will implement our core code.
    public class SmsReceiver extends BroadcastReceiver {

        private static SmsListener mListener;

        @Override
        public void onReceive(Context context, Intent intent) {
            Bundle data  = intent.getExtras();

            Object[] pdus = (Object[]) data.get("pdus");

            for(int i=0;i<pdus.length;i++){
                SmsMessage smsMessage = SmsMessage.createFromPdu((byte[]) pdus[i]);

                String sender = smsMessage.getDisplayOriginatingAddress();
                //You must check here if the sender is your provider and not another one with same text.

                String messageBody = smsMessage.getMessageBody();

                //Pass on the text to our listener.
                mListener.messageReceived(messageBody);
            }

        }

        public static void bindListener(SmsListener listener) {
            mListener = listener;
        }
    }
Lets see what goes on behind the covers here, The intent contains PDU objects (Protocol Data Unit), which is a protocol for transfer of SMS messages in telecoms. We obtain an array of these messages that were sent to to our receiver by system.
Iterating all these, we create a SmsMessage object using createFromPdu() method as shown. smsMessage.getDisplayOriginatingAddress() gives us the sender number. smsMessage.getMessageBody() gives us the message text.
Note that we have called mListener.messageReceived() here as a callback when message is received.
We are now ready with our core classes, lets implement this.
    public class MainActivity extends AppCompatActivity {

        @Override
        protected void onCreate(Bundle savedInstanceState) {
            super.onCreate(savedInstanceState);
            SmsReceiver.bindListener(new SmsListener() {
                @Override
                public void messageReceived(String messageText) {
                    Log.d("Text",messageText);
                     Toast.makeText(MainActivity.this,"Message: "+messageText,Toast.LENGTH_LONG).show();
                }
            });
        }
    }
This is our calling code (or “Driver” as it is called), it just binds the listener to our receiver by calling SmsReceiver.bindListener method and a custom implmentation telling what should be done when a message is received, this is the same method that is called in our BroadcastReceiver.
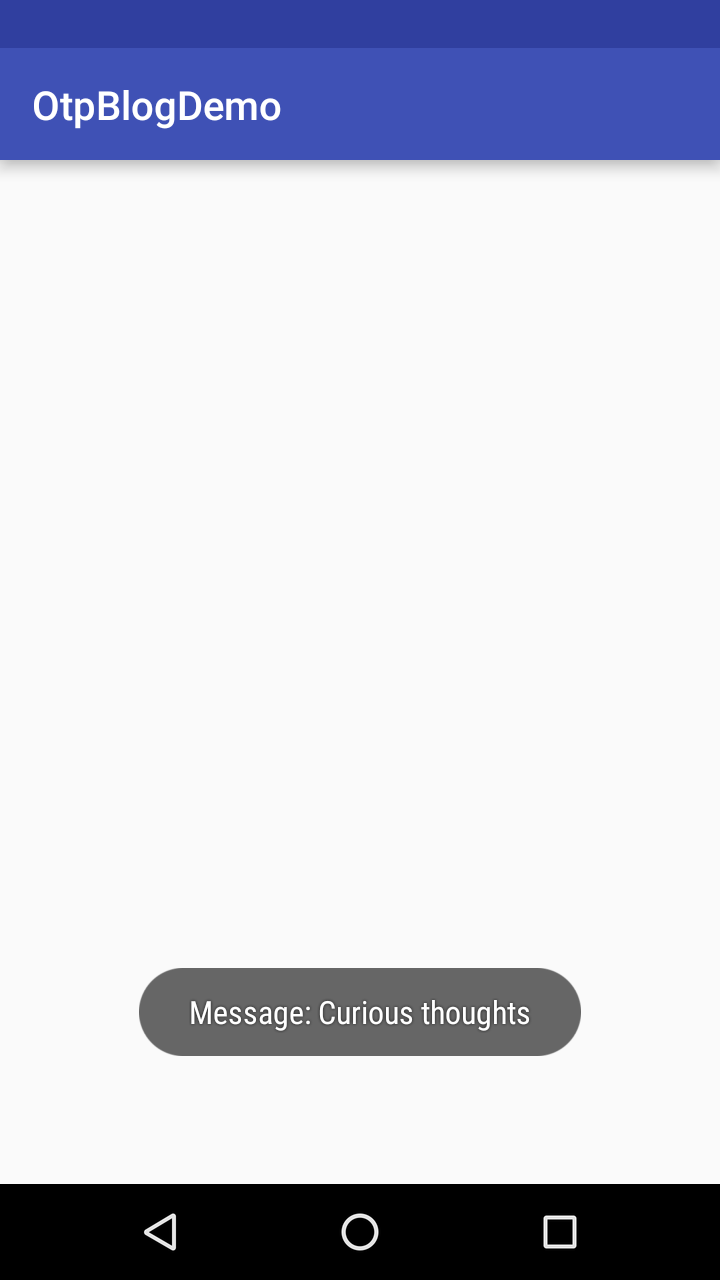
Thats it, we can see the toast
Package information and links.
In case you want to skip this configuration and just want to use the functionality, I have written a package for the same, its easy to use , just include it in your project and follow instructions to integrate
Github Link:- Otp Reader Plugin
Source code.
~swarajsaaj