Using Twitter Digits for SMS based logins
Introduction
In most of android applications login is an essential feature, and SMS based phone sign-in is becoming a better alternative than username-password combo for phone logins. Developers had to face alot of headache to set up SMS providers to verify the user and several tasks like requestins a verification code, verifying the SMS code by reading it automatically. Digits by Twitter was an awesome release which gets you up and running with SMS based logins free of cost and easy to setup.
Overview
What Digits by Twitter does is to provide you a screen with where user can enter their phone number and authenticate, Digits automatically reads the SMS received and calls back the callback defined in code to carry on our App flow.
Though in this article we will focus only on phone based logins, but remember to check out digits for more features like user graphs, analytics and more
Implementation
There are two ways (easy and a bit less-easy) of integrating Digits in our application:-
I strongly recommend using the second option, install the fabric plugin in android studio if you haven’t already. (Just follow instructions on screen, it wont take much time).
Here is an overview of what needs to be done to integrate “Digits” once you have the IDE plugin installed
-
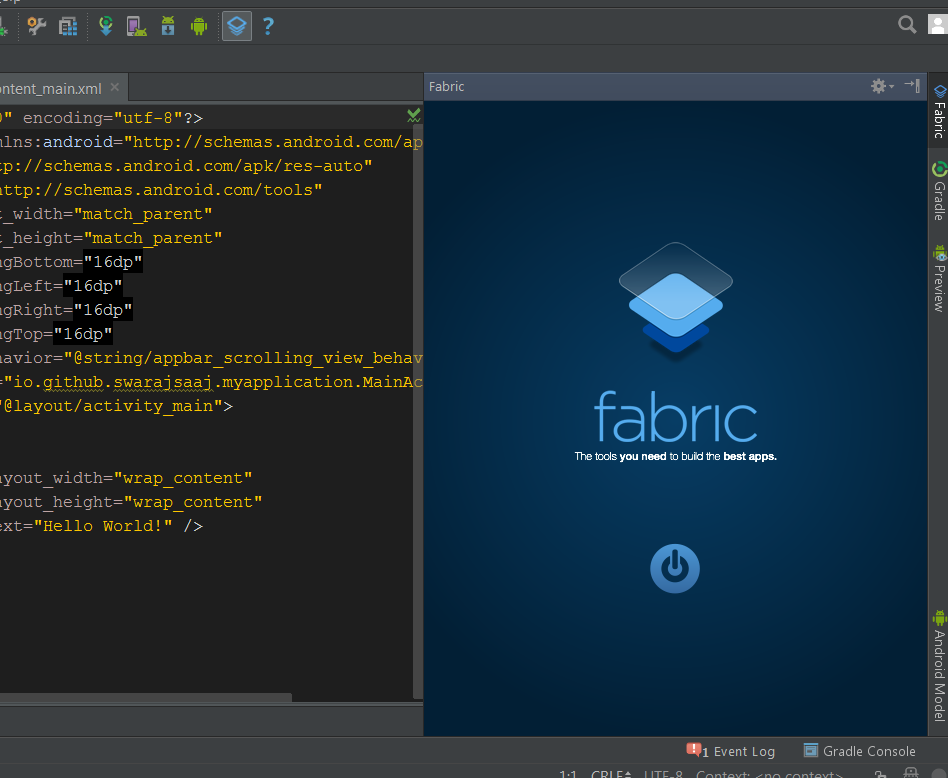
Click on Fabric icon in Android Studio toolbar.

-
The Fabric Window will come up, Click on “Boot” icon to start.
-
Login using Fabric Account login, or create an account.
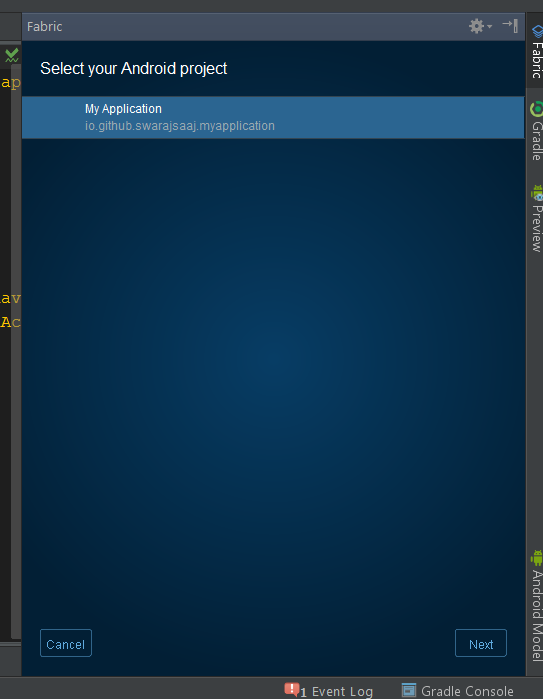
-
Select the main application (name of your app) and click “Next”
- Select Organization.
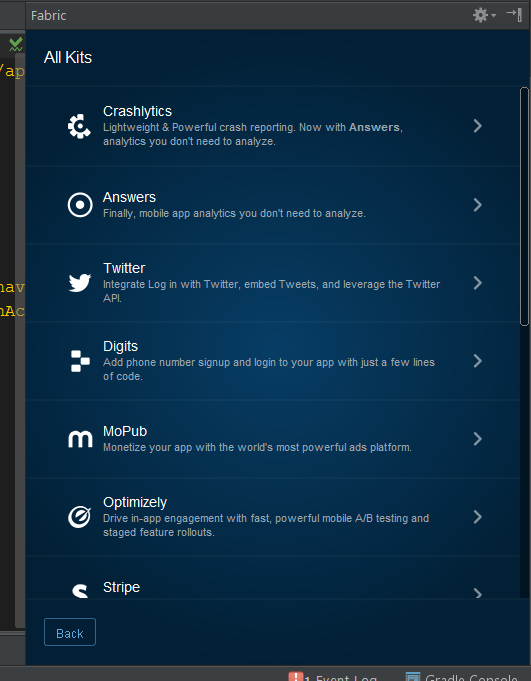
-
Then you can see all the Kits available by Fabric, select “Digits” and click the next(>) arrow.
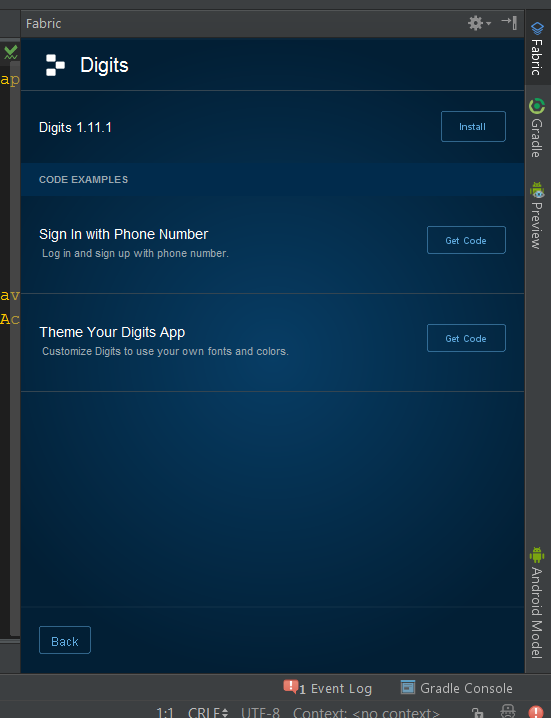
-
Click on Install Button to automatically setup the codebase in your app.
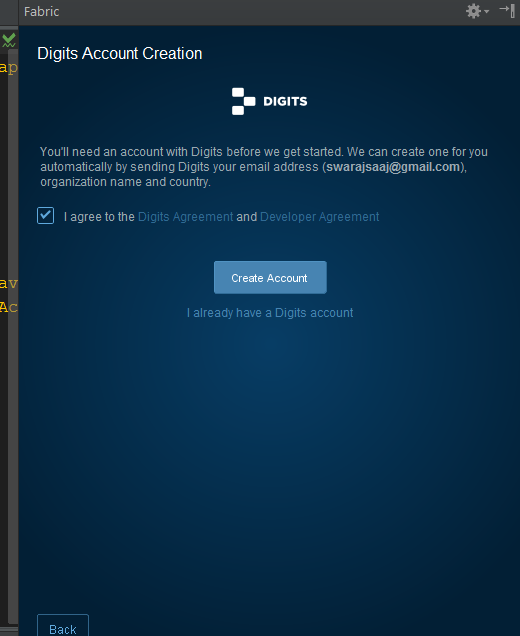
-
Click on “Create Account” to create the app account.
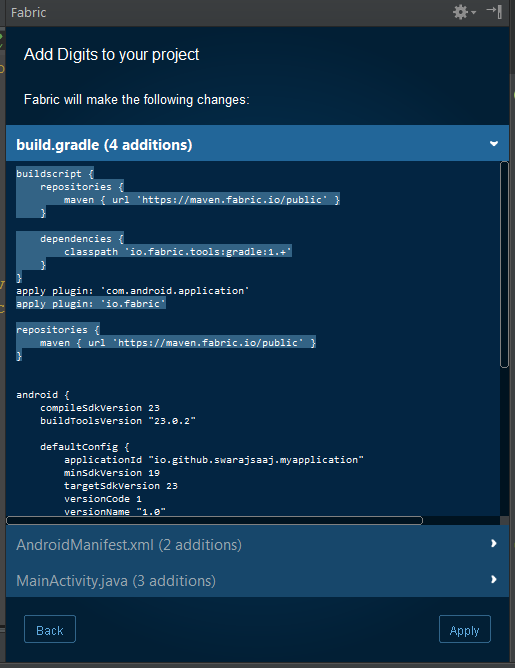
-
Here you can review the changes Twitter Plugin will make in your source code, you can review them and click on “Apply” to make these changes. (This is really the nice part of fabric plugin, that it automatically adds the code wherever required even the API keys are generated automatically).
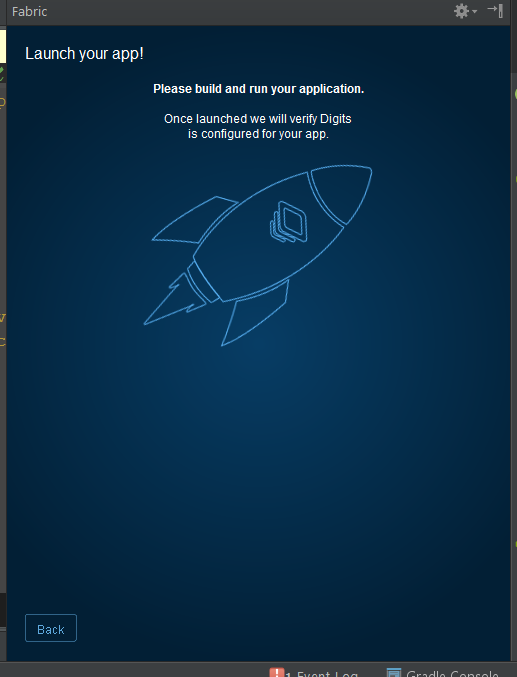
-
We are done with setup here, Just Run your app once to apply changes(here our app is rebuilt and gradle synchronizes the changes).
Using the Digits Authentication.
- If you followed the above method , you already have the following code in your MainActivity, or wherever it was placed in “Review code” step in last section.
  TwitterAuthConfig authConfig = new TwitterAuthConfig(TWITTER_KEY, TWITTER_SECRET);
  Fabric.with(this, new TwitterCore(authConfig), new Digits());
Also two constants would have been added TWITTER_KEY and TWITTER_SECRET in the Activity.
Note:- If these are not added, please add themselves in the concerned activity where we are going to perform the Login action.
- Once the Auth configuration is set up in the activity from last step, let us continue to add a button in layout xml which will trigger the Digits authentication. Add the following to activity_main.xml
        <com.digits.sdk.android.DigitsAuthButton
            android:id="@+id/auth_button"
            android:layout_width="wrap_content"
            android:layout_height="wrap_content" />
- Create a callback AuthCallback (com.digits.sdk.android.AuthCallback) provided by Digits sdk as follows:-
AuthCallback authCallback = new AuthCallback() {
            @Override
            public void success(DigitsSession session, String phoneNumber) {
                Toast.makeText(MainActivity.this,"Success",Toast.LENGTH_LONG).show();
            }

            @Override
            public void failure(DigitsException exception) {
                Toast.makeText(MainActivity.this,"Fail",Toast.LENGTH_LONG).show();
            }
        };
This callback like any normal callback has two methods overriden for success() and failure, these will be called if the Phone number is verified successfully or not respectively.
- Attach this callback to the button we created in the layout
        DigitsAuthButton digitsButton = (DigitsAuthButton) findViewById(R.id.auth_button);
        digitsButton.setCallback(authCallback);
- That was it :), just this much of code, we have implemented the Sms Based Sign-in in our app, lets see it in action.
Lets launch the app,
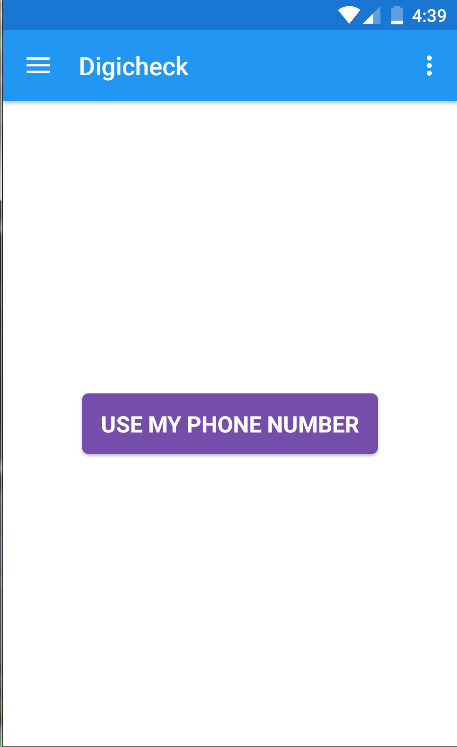
Here we can see the login button we insert in Main Activity, click the button
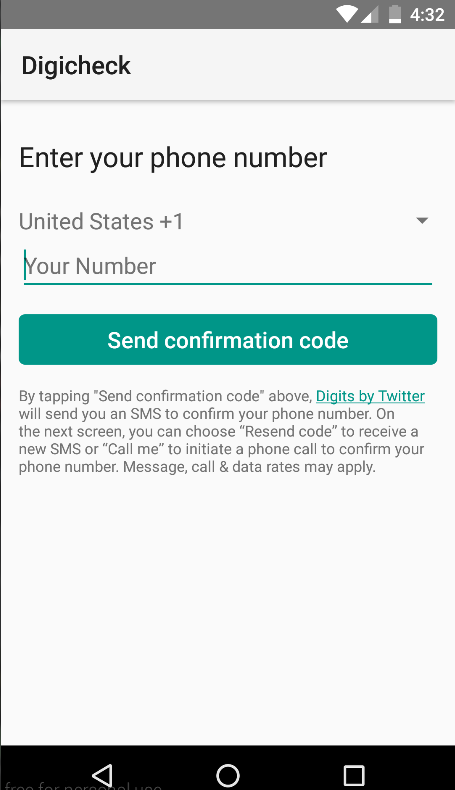
Select the Country and enter the phone number, after that click on “Send confirmation Code”
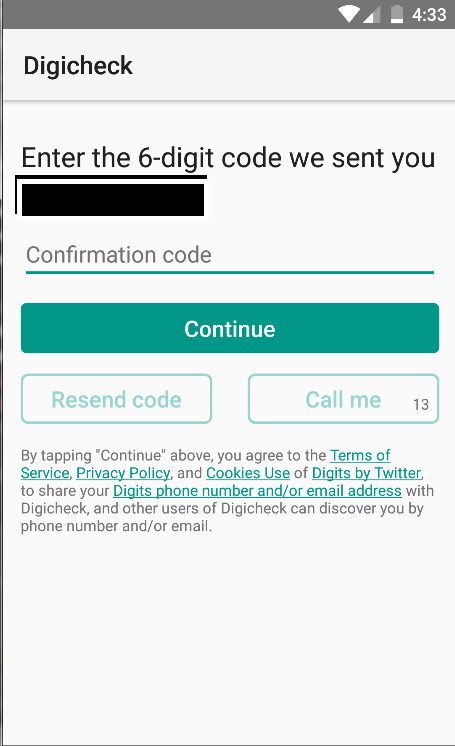
Digits will automatically detect if an SMS is received on phone, else you can enter it manually, if SMS is not received, there is an option Call me to receive the code by call
- If entered correctly, the sucess() method in callback will be called , failed() in case authentication code fails.
Customization of Digits UI
Digits provides customization for UI to match the Application’s Theme and Colour pallete.
Here is more on how to do that:- https://docs.fabric.io/android/digits/theming.html
Digits of capable of much more than a phone based login, like User graphs and more auth based tasks, do checkout this awesome piece of work.
Comment below if you have any questions regarding the procedure or anything
Source code.
~swarajsaaj